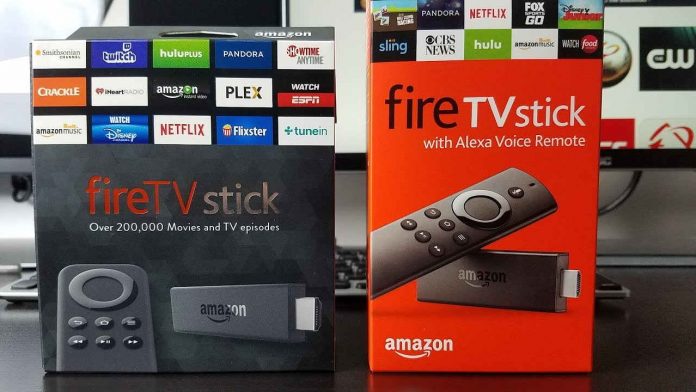
In this tutorial, we will help you set up Smart DNS on you Amazon Fire TV and Amazon Fire TV Stick as well in simple and easy steps. Scroll down for more details.
Configuring Smart DNS on Amazon Fire TV/Fire TV Stick
If you are subscribed to a Smart DNS service, then you will need to verify your IP address. Follow the steps below in order to validate your IP address:
1- Log into your Client Area page.
2- Go to Packages.
3- Choose either a Smart DNS package or a VPN package that includes a Smart DNS service.
4- Click on the Validate IP button. If your IP address is valid, you will receive this message: Validated! No actions are required. If you encounter any problems, please contact your Smart DNS service administrator for support.
5- Turn on your Fire TV or Fire TV Stick.
6- Navigate to Settings, and then choose the System tab.
7- Choose Network.
8- Select your WiFI network, and then click to Forget it by clicking on the WIFI icon and press on the Select to confirm forgetting WIFI option.
9- Select your WIFI network one more time, and then insert your WIFI password when you are asked to provide it, then click Advanced.
10- You will be asked to provide an IP address. Insert the first three clusters of digits Enter the first three groups of digits exactly the same as the IP address of your router. For example, if your the IP address of router is 192.168.1.1, then type in the IP address 192.168.1.25 or something like it. You can get your router’s IP address from the router’s setup guide.
11- Insert the IP address of your router in the Default gateway field, and then click on Next to continue.
12- Type in 24 in the Network Prefix Length, and then click on Next.
13- You will then by asked to provide DNS addresses (DNS 1 & DNS 2). Insert your VPN service’s DNS Server addresses. You can get them by logging into your Client Area -> VPN Packages -> select your Smart DNS package or your VPN package that includes a Smart DNS service.
14- Click on Next.
15- Hit the Connect button.
16- Return to the Settings menu, and then click on Timezone.
17- Choose the US timezone.
Voila! You have successfully set up Smart DNS on Amazon Fire TV/Fire TV Stick. Good Job!


