In this tutorial, we will help you set up Smart DNS on your Samsung Smart TV in simple and easy steps. Scroll down for more details.
Configuring Smart DNS on Samsung Smart TV
If you are subscribed to a Smart DNS service, then you will need to verify your IP address. Follow the steps below in order to validate your IP address:
1- Log into your Client Area page.
2- Go to Packages.
3- Choose either a Smart DNS package or a VPN package that includes a Smart DNS service.
4- Click on the Validate IP button. If your IP address is valid, you will receive this message: Validated! No actions are required. If you encounter any problems, please contact your Smart DNS service administrator for support.
5- Hold your remote control, and then press on the Menu button.
6- From the main menu, choose Network.
7- Navigate to Network Status.
8- Give it a few seconds, and then 3 buttons will be displayed.
9- Press the IP Settings button.
10- Now, choose DNS Settings.
11- Select Enter Manually.
12- Insert the DNS server addresses in the DNS field. You can obtain your DNS server addresses by logging into your Client Area, then go to VPN packages, and then select your Smart DNS package or your VPN package that comes with a Smart DNS service.
13- Press on OK.
Voila! You have successfully set up Smart DNS on Samsung Smart TV. Good Job!
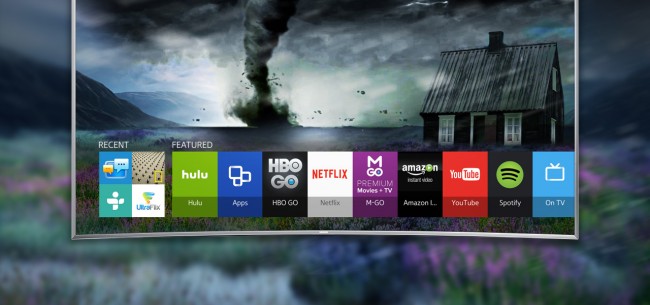
Changing Regional Settings on Samsung Smart Hub
If you need to change the region on your Samsung Smart TV, then please follow the steps below:
1- Hold your remote control, and then press the Smart Hub button.
2- Wait until Smart Hub is loaded, and then press “>>, 2, 8, 9, <<” (fast forward, 2, 8, 9, rewind).
3- Select the country you want to use under “Internet service location”. Please note that if you choose either US or UK, you will get access to the most popular applications.
4- Please note: you can’t have US and UK applications installed at the same time.
5- Press “Next” once you have chosen the country you want to use.
6- Make sure to agree to “Terms and Conditions”.
7- Now the changes you have made to Smart Hub will begin. Default applications for the region will be installed and old applications erased. After Smart Hub is restarted, you can download applications from the newly selected country.
8- Restart your TV.