Why do you need to disable IPv6 while using VPN?
IPv4 is currently the standard IP protocol with which all applications on the internet, including VPNs, are equipped. However, due to the dire need of IP addresses, IPv6 has been introduced to fill in the IP shortage gap and compensate for all IPv4 issues. It will soon take over and become the standard IP protocol. That is why not all VPN services are equipped to be compatible with IPv6 resulting in massive IP leaks which dangerously compromises a VPN user’s security online.
VPNs are mainly used to hide a person’s identity (real IP address) on the internet, secure his/her personal data as well assist in bypassing geo-restrictions to unblock any restricted web content. They are also used in business and money transactions due to their high security levels. Consequently, IPv6 presents a challenge to some VPN services that are not equipped with features like: a kill switch or an IPv6 leak protection due to leakage problems. This means that a user’s real IP address together with any personal data and online activities are vulnerable to getting exposed online. In other words, the VPN becomes a useless tool that fails its purpose to anonymise your IP address and encrypt your data traffic.
On a brighter note, there is a workaround to this irritating issue, that is to disable IPv6 on your Windows system to avoid any leaks.
Disabling IPv6 on Windows

There are two different ways to disable IPv6 on Windows:
First Method:
1- Go to the network icon located at the bottom right hand side of your Windows screen and right-click.
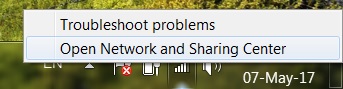
2- Click on “Open Network Sharing Centre“.
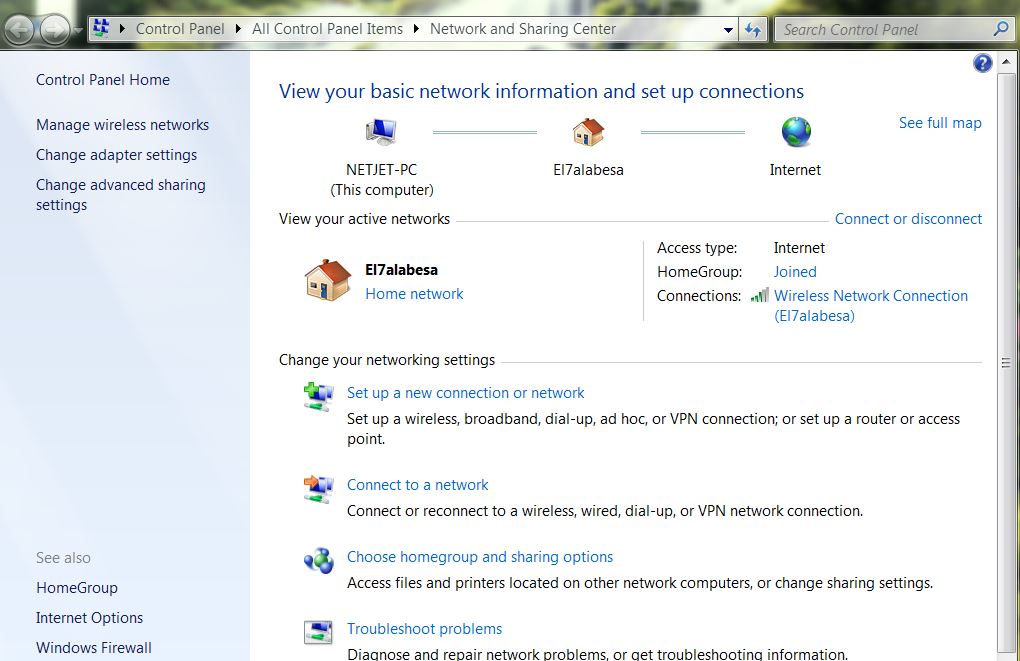
3- Click on “Change Adapter Settings“. This will lead you to a window in which there is a list of all network adapters installed on your computer.
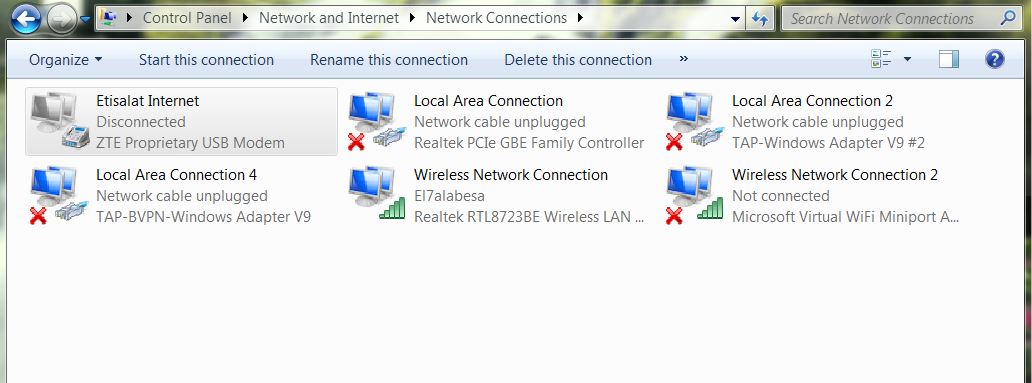
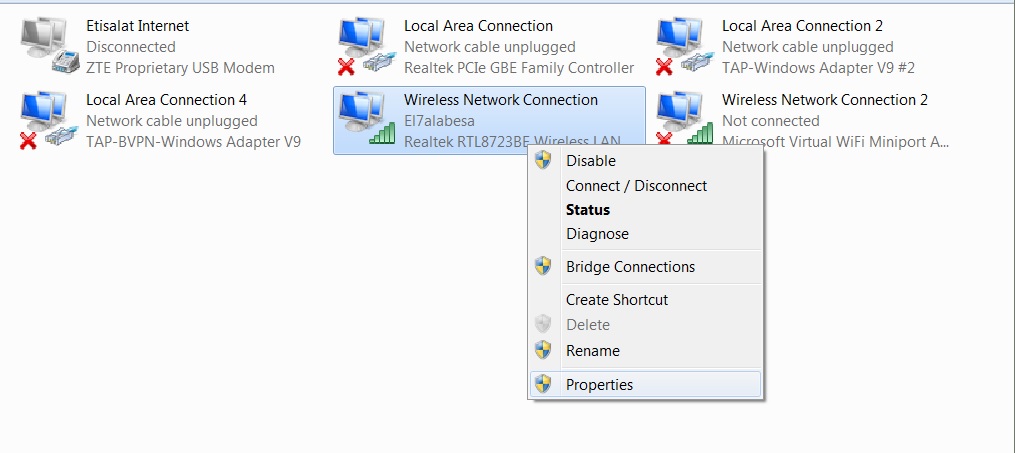
4- Right-click on your currently active network connection (e.g: WiFi)
5- Next, click on “Properties“.
6- Make sure that you are on the “Network” tab, then scroll down until you find “Internet Protocol Version 6 (TCP/IPv6)“.
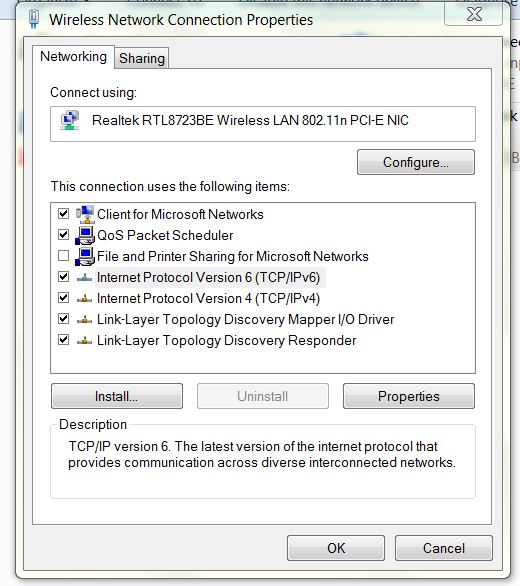
7- Click on the small box next to it to uncheck it.
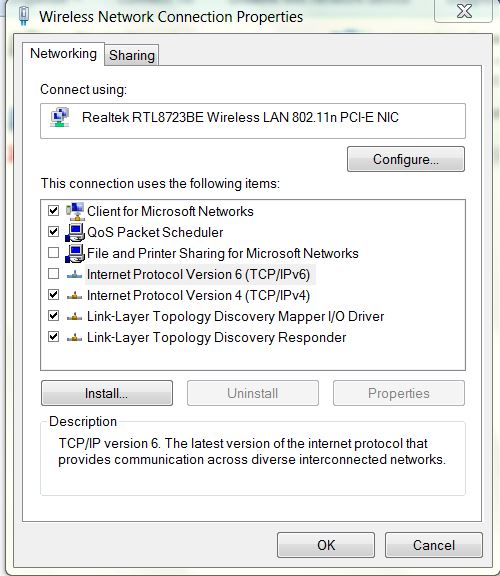
8- Click “OK” to confirm the changes you have made.
9- Restart your computer as well as your router to apply the changes.
You have successfully disabled IPv6 on your Windows system.
Second Method:
1- Click on the start menu on the bottom left hand side of your screen (Windows logo).
2- Click on “Control Panel” and then select “Network and Sharing Centre” to open it.
3- Repeat steps 3-9.
You have successfully disabled IPv6 on your Windows system.
To know more about IPv6 leaks and how to prevent them, click here.