In this tutorial we will go through the detailed,step-by-step process of manually configuring a PPTP Connection on your TRENDNet router.
Before we start you must make sure that you have the following:
1- An active subscription to a reliable VPN service that supports PPTP among its security protocols
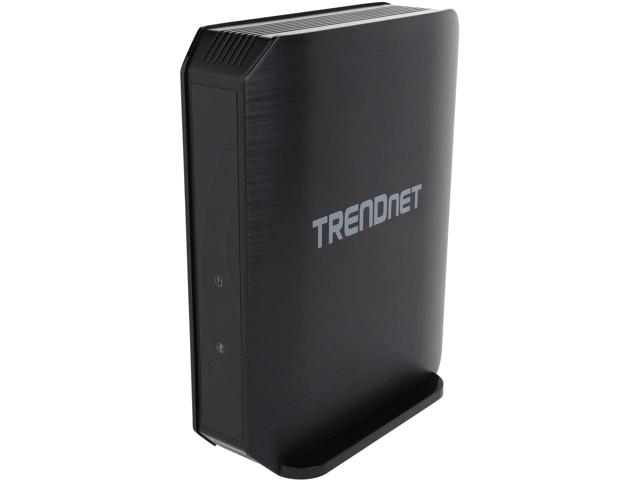
2- A TRENDNet router that supports PPTP
3- A working internet connection
Setting up PPTP on TRENDNet Router
First: Logging into your router’s administrator console
1- Once you have an internet connection established, open your browser
Note: To access the administrator’s login page you must know the local IP address of your TRENDNet router (usually it’s 192.168.1.1 or 192.168.0.1 and if these do not work, you can refer to the router’s catalogue)
2- Once you have obtained the TRENDNet router’s IP address, enter it in the address bar of your browser to go to the login page
3- In the login page, enter the TRENDNET router username and password
Second: Configuring the PPTP connection
1- In the administrator panel and on the left side under “Main”, select “WAN”
2- In the “WAN” section, click to open the drop down menu labeled “Connection Type” and select “PPTP”
3- Click to select the radio button labeled “Dynamic IP”
4- In the field labeled “DNS” enter the IP address of one of the VPN’s DNS servers (this can be found on the VPN provider’s website)
5- In the field labeled “Server IP/Name”, enter the IP address or hostname of the VPN server you want to connect to (this can be found on the VPN provider’s website)
6- In the field labeled “PPTP Account”, enter your VPN username
7- In the fields labeled “PPTP Password” and “Retype Password”, enter your VPN password
8- From the 3 radio buttons labeled “Auto-reconnect” click to select the one labeled “Connect-on Demand”
9- In the field labeled “Idle Time Out”, set it to 5 minutes
10- Leave the field labeled “MTU” as it is
11- Enable “MPPE”
12- Click on “Apply” to connect
Once a connection is established on your router, this means that you have successfully configured a VPN’s PPTP connection manually on your TRENDNet router and all your devices connected to the internet through that router will enjoy the online security, online privacy, and online freedom of the VPN connection.