Viscosity is an OpenVPN client developed by Australian-based Sparklabs for Windows ((XP, Vista, 7, 8, 8.1 & 10)and Mac OS X (10.7 to 10.12) operating systems. Viscosity is considered as a top-notch VPN client that “provides a clear and intuitive user interface for creating, editing, and controlling VPN connections, and makes it easy for users new to VPN to get started,” as stated on their website. Viscosity is an extremely reliable VPN source to surf the web securely and bypass any geo-restrictions to access any blocked web content. The software takes advantage of Mac’s keychain and Windows credential system to ensure that a user’s data is secure and encrypted on the internet.
Viscosity Features
The software comes with a lot of impressive features for regular users and experts making it notably stand out among other OpenVPN clients. It is designed to be intuitive with new users and customizable with professional users as well. Here is a general overview about the most remarkable features of Viscosity:
*Through a sleek and rich graphical user interface, connections can be created and edited without the need to manually edit configuration files or use the command line.
*VPN connection configuration files can be effortlessly imported to provide you with a ready-to-use VPN connection in a heartbeat.
*As a cross-platform, the software is fully compatible with any Windows or Mac OS X based device.
*As a VPN client, it secures any network environment and keeps the VPN running by smoothly adapting to sudden network changes and reconnecting automatically in any connection dropouts.
*It also gives clear information about the network and VPN connection through a global menu and a traffic graphs to be able to access and monitor all connections.
*It also interacts with Mac’s sophisticated DNS system to enable using custom DNS servers and search domains while connected.
*PKCS#11 authentication is also supported to allow using smartcards and eTokens for authentication. Users can also combine these devices with other methods to create up to three-factor authentication.
Setting Up VPN on Mac Using Viscosity
Here we will show you how to setup your VPN on Mac using Viscosity step-by-step with pictures. Before performing any of the following steps, make sure that you have administrative access on your computer. We will use bVPN as an example for a VPN provider.
I) Installing OpenVPN Configuration file
1- Go to your VPN’s webpage where you can download OpenVPN configuration file. For example: https://www.bvpn.com/en/accounts/profile/openvpn_server_list/.
2- Select a server, and then click on “Generate“.

II) Downloading & Running Viscosity
Note: you can enjoy free Viscosity trial for 30 days only. After that, you’ll need to purchase lifetime license for $9.
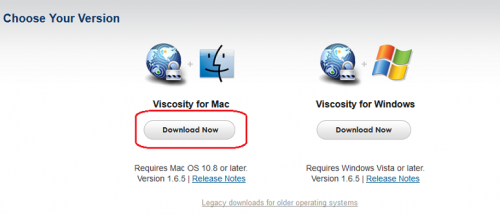
1- Go to sparklabs.com/viscosity/download/ and download Viscosity for Mac.
2- Double-click to open the Viscosity.dmg file (frequently located in your Downloads folder).
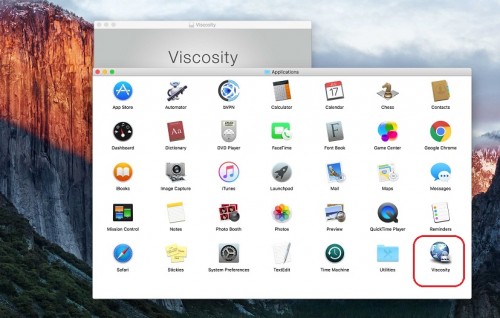
3- Drag and drop Viscosity to the “Applications” folder.

4- Double-click on Viscosity icon to run the application.
5- To continue, you need to insert your admin “username” and “password“.
6- Click “Install Helper“. Viscosity will be automatically configured and all necessary components will be automatically installed.
III) Establishing Your VPN Connection in Viscosity
In this part, we will start creating a VPN connection in Viscosity by importing a connection from OpenVPN configuration file. We will use bVPN as an example for a VPN provider.
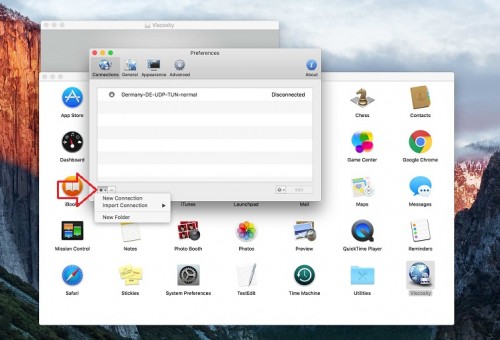
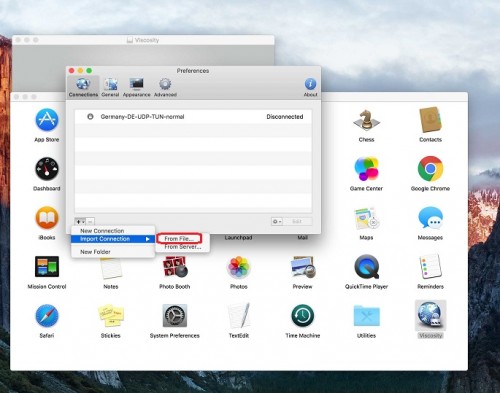
1- From your menu bar, click on the “Viscosity” icon, and then click on “Preferences“.
2- Click on “+” button in the “Connections” tab, and then select “Import Connection“.
3- Next, select “From file…“.
4- Select the OpenVPN configuration file that was previously downloaded (refer back to section I), and then click “Open“.
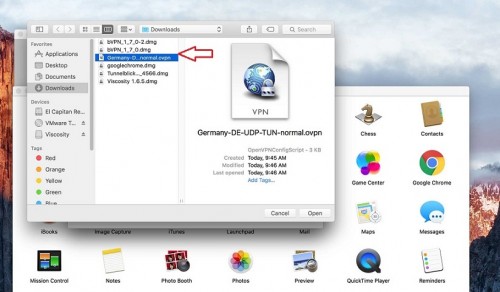
5- You will prompted by a message confirming that the OpenVPN configuration file has been successfully imported. Click “OK” to continue.

6- Type in your VPN credentials in the Username and Password fields.
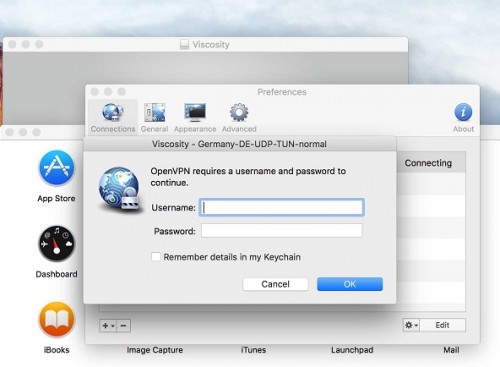
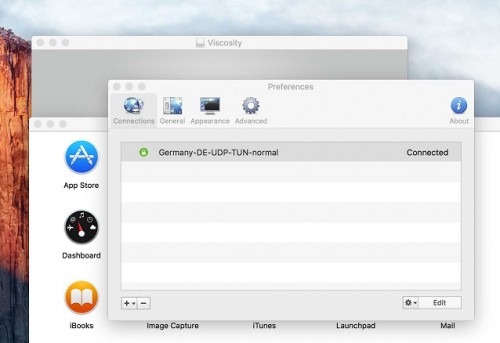
7- Wait for a few moments for the connection to be established.
Congratulations! You have been successfully connected.