Due to the rapid growth of internet censorship and the shocking hike in cyber threats and cyber criminal activities, VPNs have become the main interest for millions of internet users around the world. A Virtual Private Network, or simply “VPN” works by creating a secure and hidden tunnel within the internet through which your data traffic is routed before it reaches the desired destination. This is done by using a cluster of strong encryption algorithms and protocols to hide your real IP address and replace with another one (fake IP) so it would apprear as if you are browsing for an entirely different location than the actual location you are browsing from. In this way, you will become anonymous on the internet to your ISP, government, attackers, etc. Moreover, VPNs are used to bypass geo-restrictions enforced by some countries or online services, like: Netlfix.
In this guide, we will show you how to manually configure a VPN connection on Windows 10.
Creating a VPN Connection on Windows 10
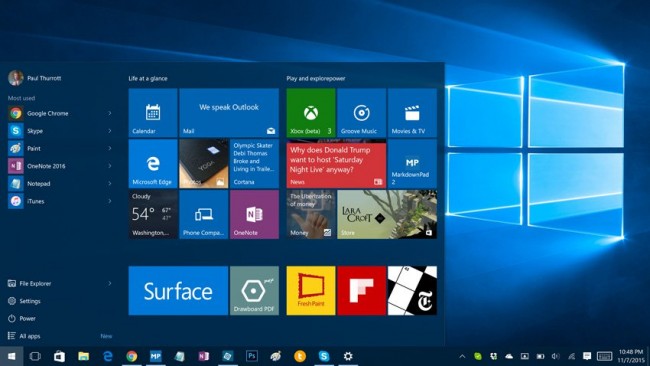
1- Go to “Start” menu, and then click on “Settings”.
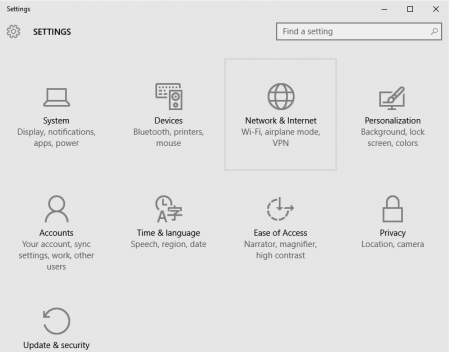
2- Click on “Network and Internet”.
3- On the left pane, you will find several options, choose “VPN”. Once you click on “VPN”, all the related settings will be displayed on the right pane.
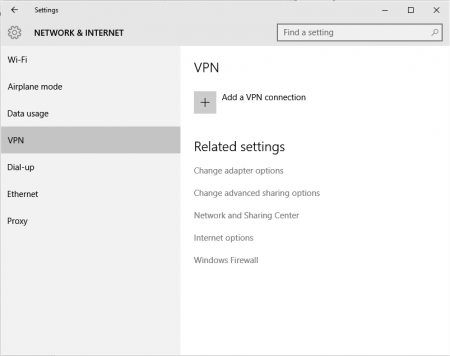
4- Next, click on the “+” sign next to “Add a VPN Connection”.
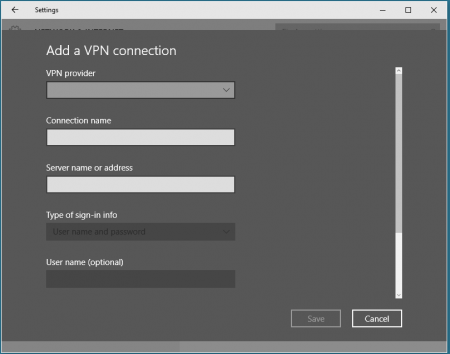
5- Expand “VPN Provider” and select “Windows Default”.
6- Type in a name for your VPN connection in the “Connection Name” field. Make sure to choose a proper name for your VPN to be able to easily identify it later. Moreover, some VPN services require using specific names for the VPN connection to help them collect information needed as per their agreements policy. In this case, you need to contact your VPN service provider first to make sure that you use the correct name for your VPN connection.
7- Type in the IP address provided to you by your VPN service provider in the “Server Name or Address” field. If you are unable to identify it, kindly contact your VPN’s customer support because you cannot create a VPN connection on Windows 10 without providing this information.
8- Expand the “VPN Type” field and select the encryption tunneling protocol you want to use for your VPN connections (e.g: PPTP). If you are not sure about choosing an encryption protocol, you can select “Automatic” and Windows 10 will automatically the right protocol for you.
9- Type in a username and password in the “username” and “password” fields. If you are worried that you might forget your user ID or password in the future, you can simply scroll down and check on the box that says “Remember my sign in information“.
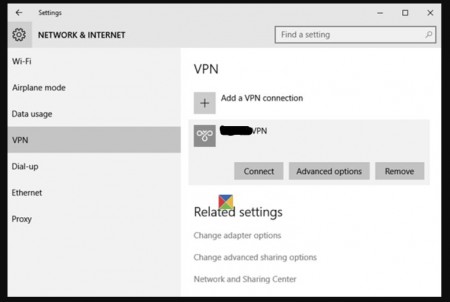
10- Click on “save“, and then click on “back“. You will be re-directed to the “Add VPN” page in which you will find your newly created VPN connection right under the “Add VPN” button.
Congratulations! You have successfully created a VPN connection on Windows 10. You will notice 3 buttons affiliated with your VPN connection (Connect, Advanced & Remove). In order to connect to your VPN, click on the “Connect” button. However, if you want to delete it, simply click on “Remove” and it will be deleted for your system. As for the “Advanced” button, it will direct you to another page through which you can configure proxy settings (not recommended).