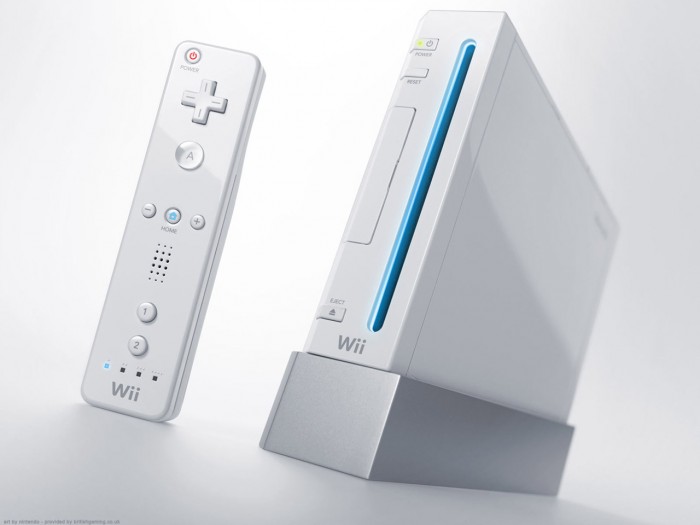
Wii is a home video game console that was first launched by Nintendo in 2006. Ever since more than one version was released. The latest versions of Nintendo Wii had the ability to connect to the internet to download games and updates. With this kind of technological advancement came the risks and complications, such as online restrictions. This is why all Nintendo Wii gamers had to find a way to protect their online security, freedom, and privacy. Usually if we were dealing with a computer or a mobile phone or even a router, the solution would be as simple as acquiring a Virtual Private Network or VPN service and setting it up on the device. Well, the solution here is not that different. Fortunately, we can now setup the VPN service on the Nintendo Wii as well. It might not be as simple as setting it up on other devices yet it is still possible. In this tutorial we will show you the, step-by-step, process of how to setup a VPN connection on Nintendo Wii.
Before we start, make sure you have the following items:
1- A full subscription to a reliable VPN service
2- A Laptop with a wireless network adapter and RJ45 port
3- A stable wireless internet connection
4- A Crossover ethernet cable
First: Setting up a connection between the laptop (Windows) and the Nintendo Wii
1- In the USB port of your Nintendo Wii console, insert the Wi LAN adapter
2- Use the ethernet cable to connect the laptop to the Wi LAN adaptor
3- Switch on the Nintendo Wii video game console
4- Press the button labeled “A” from your Nintendo Wii remote
5- Move the cursor over the “Wii” button and press the “A” button again to select it
6- On the right select the “Wii Settings” option
7- Scroll over to “More Options”, using the blue arrow, and select “Internet”
8- In the “Connection 3” section, choose “connection status” and in the “Wired Connection” section, choose “none”
After we have setup a connection between the laptop and the Nintendo Wii console, all we need to do is share the VPN connection between both devices to be able to secure the Nintendo Wii.
Second: Sharing the VPN connection between the laptop and the Nintendo Wii
1- Click to open the start menu and select “Control Panel”
2- From the Control Panel click on “Network and Internet” and then go to “Network and Sharing Center”
3- On the right side of “View Your Active Networks” , choose “Local Area Connection”
4- Click on “Properties” in the “Local Area Connection Status” window
5- Double click on “Internet Protocol version 4” in the “Networking” tab
6- Select “Use the following address”
7- Type in the default IP address (193.168.0.1)
8- In the field labeled “subnet mask”, type in 255.255.255.0 (leave the fields labeled Default Gateway, DNS Server,and Alternate DNS Server blank) and click “Ok”
9- In the left-hand corner of the screen, click on “Changed Adapter settings”
10- From the list of connections, right click on the VPN connection and select “properties”
11- Click to open the “Sharing” tab and select “Allow other network users to connect through this computer’s internet connection”
12- From the drop down menu under “Home Networking Connection” select “Local Area Connection”
Note: Make sure that “Dial-up Connection” and “Allow other network users to control” are both disabled
13- Click on “Ok” to save the settings
At this point your Nintendo Wii gaming console is secured with a VPN connection. Enjoy a safe online gaming experience.


