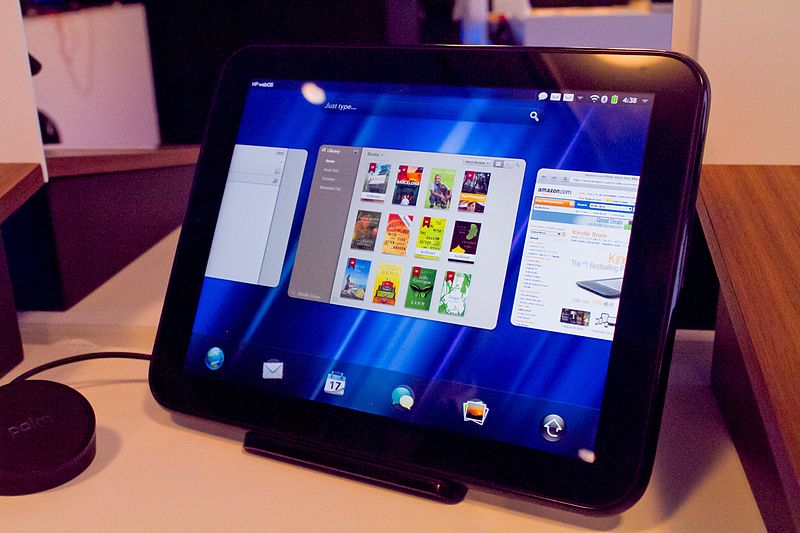
HP WebOS is the operating system used in Hewlett-Packard or HP touchpads. The HP touchpad was originally launched back in 2011. Even though it faced a massive competition against Apple’s iPad, yet many users preferred it over the iPad due to a lot of reasons including price and durability. Since the HP WebOS can access the internet, users started securing it with a virtual private network or VPN service. One way to secure it would be to install the VPN application with all its features. Another way is to manually setup the VPN’s security protocol directly into the operating system. One of the security protocols used by VPN’s is the Point-to-Point Tunneling Protocol or PPTP. In this tutorial we will be showing you the steps to manually configure the VPN’s PPTP directly into the HP WebOS.
Setting Up PPTP on WebOS
1- From the main screen, tap on the “Launcher” icon at the bottom right corner of the screen (it’s a sign of an upward pointing arrow)
2- From the top of the screen, tap to open the tab labeled “Settings”
3- Tap on “VPN”
4- Tap on “Add Profile…”
5- Tap to open the drop-down menu labeled “Connection Type” and select “PPTP” (if you can’t find a “PPTP” option then go to the HP App catalogue and install “PPTP VPN” plugin)
6- In the field labeled “VPN Server” enter the hostname or IP address of the VPN server you wish to connect to (you can find this on the VPN provider’s website but make sure that it is one of the servers that supports PPTP)
7- Tap on “Next”
8- In the field labeled “Profile Name” enter the name you wish to give to the PPTP VPN connection that you are creating (It is usually preferred to give it the same name as your VPN provider)
9- In the section labeled “Login Credentials” enter your VPN account username in the field labeled “Username” and your VPN account password in the field labeled “Password”
10- In the section labeled “Authentication Methods” tap to check the checkbox labeled “MSCHAP2” and make sure that the rest of the checkboxes are unchecked
11- In the section labeled “Tunnel Options” tap to check the checkbox labeled “Tunnel All Traffic” and make sure the rest of the checkboxes are unchecked
12- Tap on “Connect”
Once the connection is established a small “VPN” icon will appear in the top of the screen next to the “Wifi” icon. If this icon appears it means that you have successfully manually setup a VPN’s PPTP connection on your HP WebOS.It is important to mention that PPTP is not the most secure protocol compared to other VPN protocols, yet it is sometimes preferred over other protocols in certain online situations.