In this tutorial, we will help you set up Smart DNS on Windows 8 and Windows 10 in a few simple and easy steps. Scroll down for more details.
Configuring Smart DNS on Windows 8
If you are subscribed to a Smart DNS service, then you will need to verify your IP address. Follow the steps below in order to validate your IP address:
1- Log into your Client Area page.
2- Go to Packages.
3- Choose either a Smart DNS package or a VPN package that includes a Smart DNS service.
4- Click on the Validate IP button. If your IP address is valid, you will receive this message: Validated! No actions are required. If you encounter any problems, please contact your Smart DNS service administrator for support.
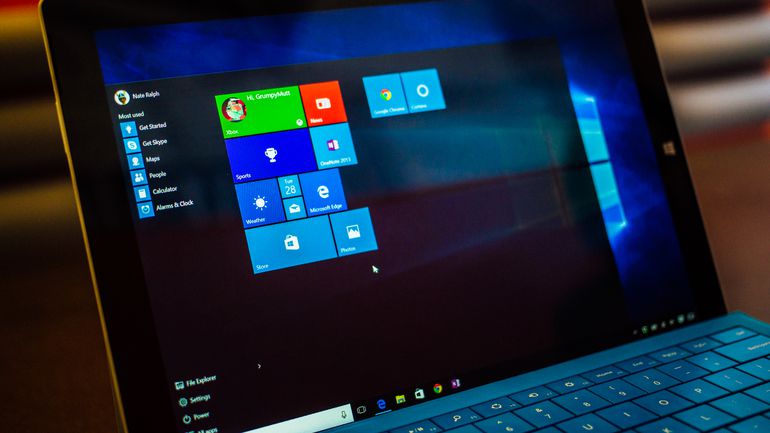
5- Go to Search, and then type in Control Panel to open it.
6- Next, navigate to View network status and tasks.
7- From the left-side menu, click on Change adapter settings.
8- If you are using WIFI, then right-click on Wireless Network Connection. However, if you are using a cable connection, then right-click on Local Area Connection.
9- Choose Properties.
10- Scroll down until you find Internet Protocol Version 4 (TCP/IPv4), and then click on Properties.
11- Choose Use the following DNS server addresses option, and then type in your VPN service’s DNS Server addresses. You can get them by logging into your Client Area -> VPN Packages -> select your Smart DNS package or your VPN package that includes a Smart DNS service.
12- Click on OK to save the changes you have made.
13- Reboot your system.
Voila! You have successfully set up Smart DNS on Windows 8. Good Job!
Configuring Smart DNS on Windows 10
If you are subscribed to a Smart DNS service, then you will need to verify your IP address. Follow the steps below in order to validate your IP address:
1- Log into your Client Area page.
2- Go to Packages.
3- Choose either a Smart DNS package or a VPN package that includes a Smart DNS service.
4- Click on the Validate IP button. If your IP address is valid, you will receive this message: Validated! No actions are required. If you encounter any problems, please contact your Smart DNS service administrator for support.
5- Navigate to the bottom right-hand corner and right-click on the WIFI icon. Next, select Open Network and Sharing Center.
6- Head over to your currently active internet connection, and then click on Properties.
7- Scroll down until you find Internet Protocol Version 6, and then uncheck it.
8- Scroll down until you find Internet Protocol Version 4 (TCP/IPv4), and then select it.
9- Click on Properties.
10- Choose Use the following DNS server addresses option, and then type in your VPN service’s DNS Server addresses. You can get them by logging into your Client Area -> VPN Packages -> select your Smart DNS package or your VPN package that includes a Smart DNS service.
11- Click on OK to save the changes you have made.
12- Reboot your system.
Voila! You have successfully set up Smart DNS on Windows 10. Good Job!
