
After performing tests on multiple devices, we have realized that there is an issue with the sending and receiving buffers when connecting through the UDP tunnel, which slows down the connection speed, in the OpenVPN client. This has occurred only on Windows 7 platform but did not take place on Windows 10 platform or with TCP connections. Luckily, we have been able to find a very simple solution for this and it can be done through some very few simple steps.
Before going into the steps we first need to identify where the problem lies in order to know how to fix it. When setting up a UDP server connection through the OpenVPN client, we have to first download the configuration file from the website of the VPN provider we are dealing with (in this tutorial we will be dealing with BVPN). This configuration file comes in the form of certain coding procedures displayed in a text format (Opened with Notepad). And for that same reason it is very easy to adjust these configurations to fix any issue, and this is exactly how we can solve this issue.
How to Fix Buffers Issue in OpenVPN Configuration
1-Download the configuration file for the server that you want to connect to from the VPN website:
a) Go to the VPN website and sign in to your account.

b) Go to your profile page and click on “View list of OpenVPN servers“.

c) Scroll down to your preferred server that you want to connect to and click on “Generate” (For this tutorial we chose the server in Germany for BVPN).

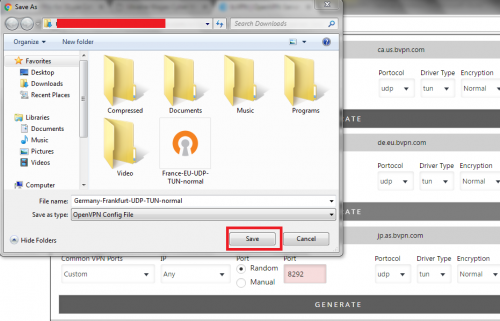
d) Save the configuration file in any preferred location you choose.
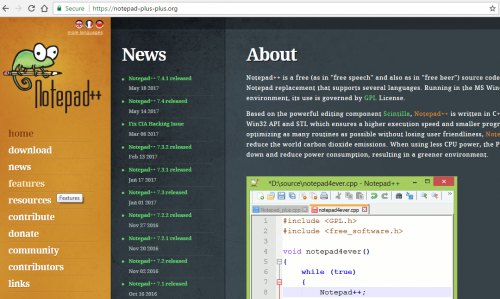
2- Download Notepad ++
Notepad ++ is a free equivalent application to Notepad but works better with these types of configuration files as the normal Notepad can sometimes mess up the configuration files.
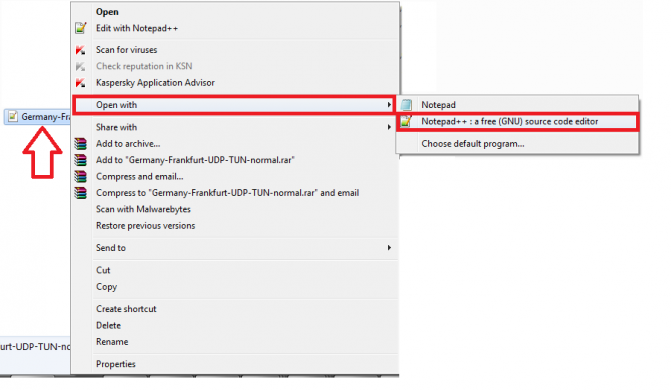
3- Open the configuration file using Notepad ++
By opening the configuration file using Notepad ++ instead of the normal Notepad, this will allow you to modify the file without messing up the entire configuration.
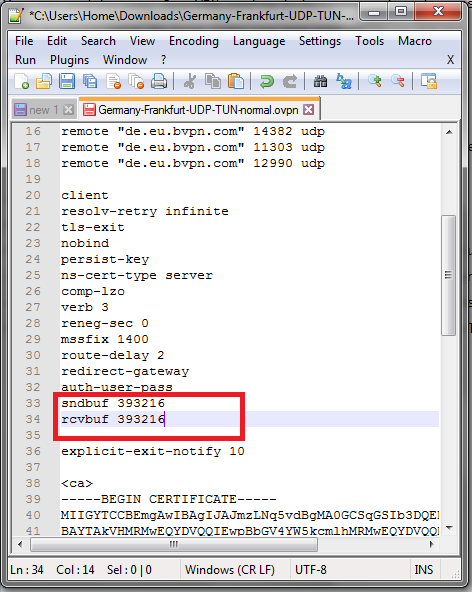
4- Add the following modification lines anywhere in the configuration file:
“sndbuf 393216”
“rcvbuf 393216”
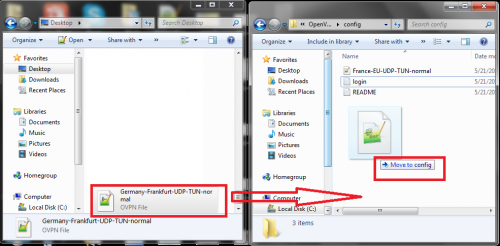
5- Save the modified file and then move it inside the OpenVPN config folder (usually found in C:\Program Files\OpenVPN\config )
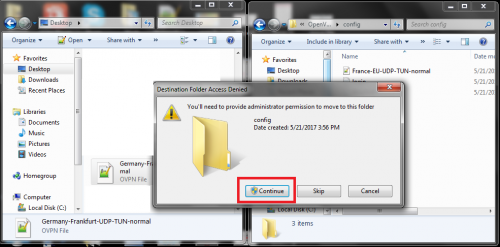
If you try to save it directly in the “config file” folder, the system will not allow you and give you an error message that this action needs to be approved by the administrator. In order to overcome this obstacle, simply save the modified configuration file in the same location you downloaded it in and then move it manually to the OpenVPN configuration folder.
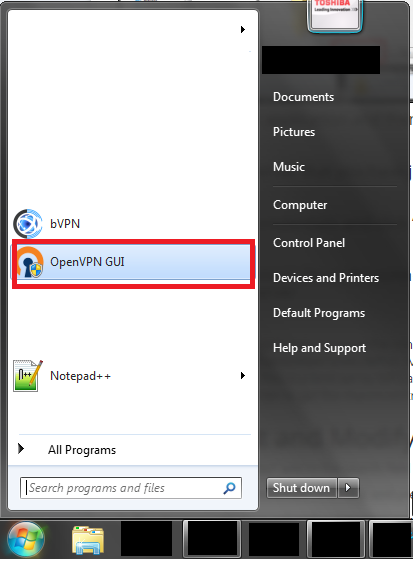
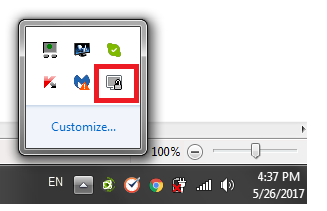
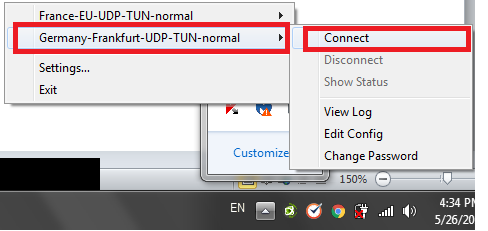
6- Open OpenVPN application and then right click on its icon in the notification bar.
7- Select the new server that you have just modified the configuration file of and click on connect.
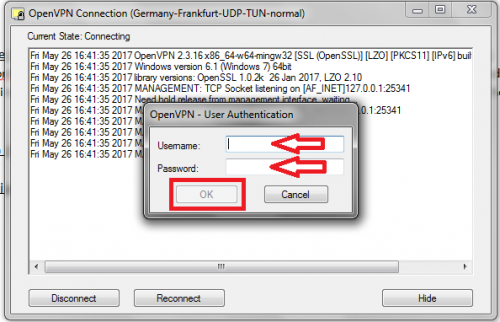
8- Enter your VPN credentials and click “ok”
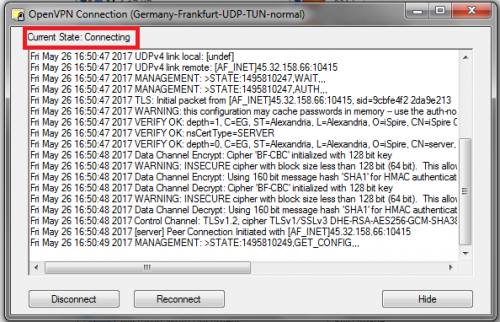
9- Wait for it to connect. Once the connection is established, the OpenVPN icon will turn green and a notification will appear that you are connected to the server.

The above steps should definitely improve the connection speed when connecting to a UDP server; however, an additional factor can also be affecting the connection speed which is the Maximum Transmitted Units (MTU). MTU simply means the maximum amount of data that can be transmitted at once through a UDP connection without the need to be fragmented. This is a limit set by ISP’s and is preset in the router’s WAN settings. This is why you need to know what the optimal MTU for your connection is, and set your router settings accordingly in order to get the maximum transition speed from your connection. To obtain the optimal MTU for the connection, the following steps can be taken:
How to Test and Modify MTU
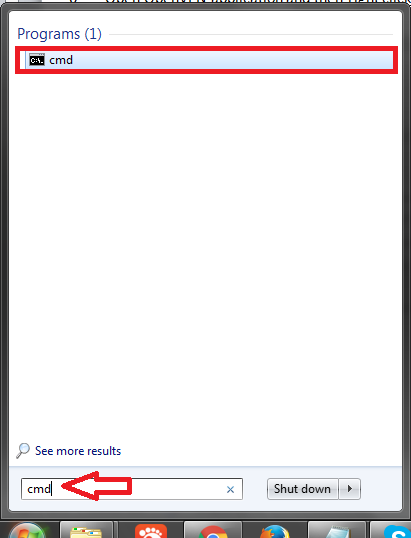
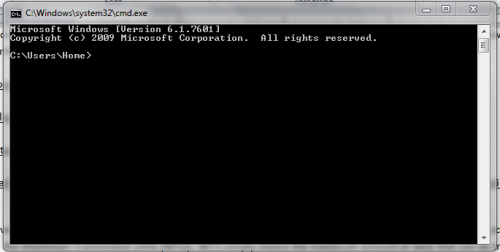
1- Click on the “Start Menu” and in the search field in the bottom type “cmd” and press enter. A DOS prompt should open.
2- Type in “ping www.yahoo.com –f –l 1492 and press “Enter”
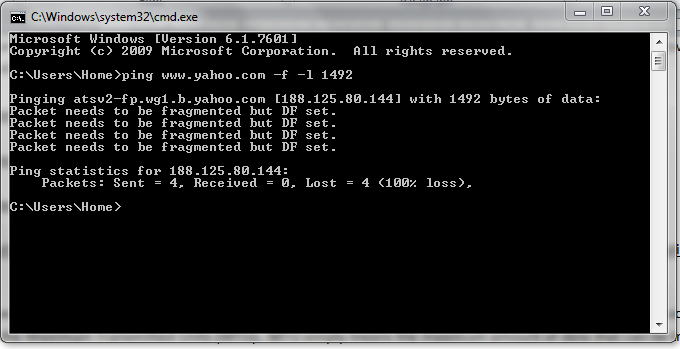
3- The above results means that the data packet transmitted (or MTU) is too large and needs to be fragmented. Start decreasing the MTU in multiples of 10 (1482, 1472, 1462, etc.) until it stops showing these results.
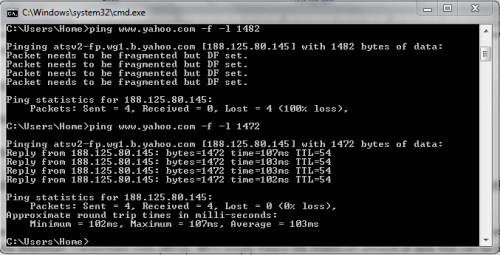
4- Once you start getting a clear ping result, start increasing the MTU by 1 until you figure out the optimal MTU without the need to fragment it.

5- As you can see the optimal MTU possible in this example is 1472 which means that this is the maximum transmittable amount of packet data without the need to be fragmented.
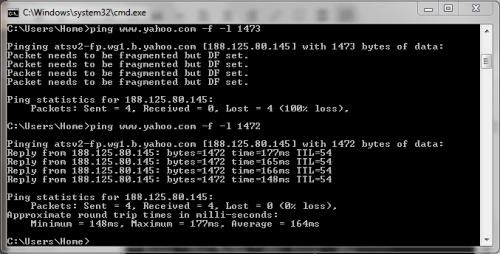
6- Change the MTU to that number in your router’s WAN settings.
Conclusion
By modifying both the configuration file and the MTU settings this should give you the maximum UDP connection speed possible and there will no longer be any lags. Of course other factors can affect the connections which are out of our hands, like the internet connection stability or the state of the server being connected to. However, from the user’s end, this is the maximum tweaking that can be done to ensure full utilization of the UDP connection capacity.